
A cracked pane, fogged double-pane window, or drafty frame can make timing feel urgent. The right window replacement timeline depends on whether the opening is unsafe now, whether the glass or the entire unit needs replacement, and whether the new window is a standard or custom size. Some problems can be secured the same day. A full replacement project may take several weeks from measurement to installation.
For homeowners, landlords, and commercial property managers, the goal is not simply to get a new window. It is to restore security, weather protection, energy performance, and a clean finished appearance without losing control of the schedule.
The Window Replacement Timeline at a Glance
A straightforward replacement commonly moves through inspection, measurement, ordering or fabrication, installation, and final review. The work on installation day is often completed in a few hours per window, but the lead time before that appointment is where most of the calendar sits.
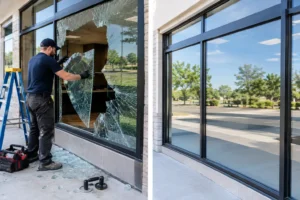
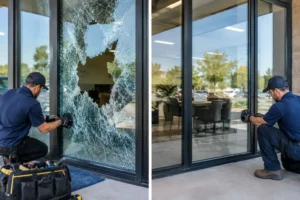
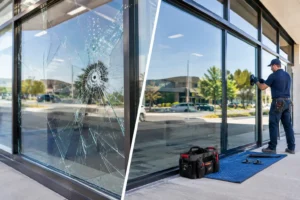
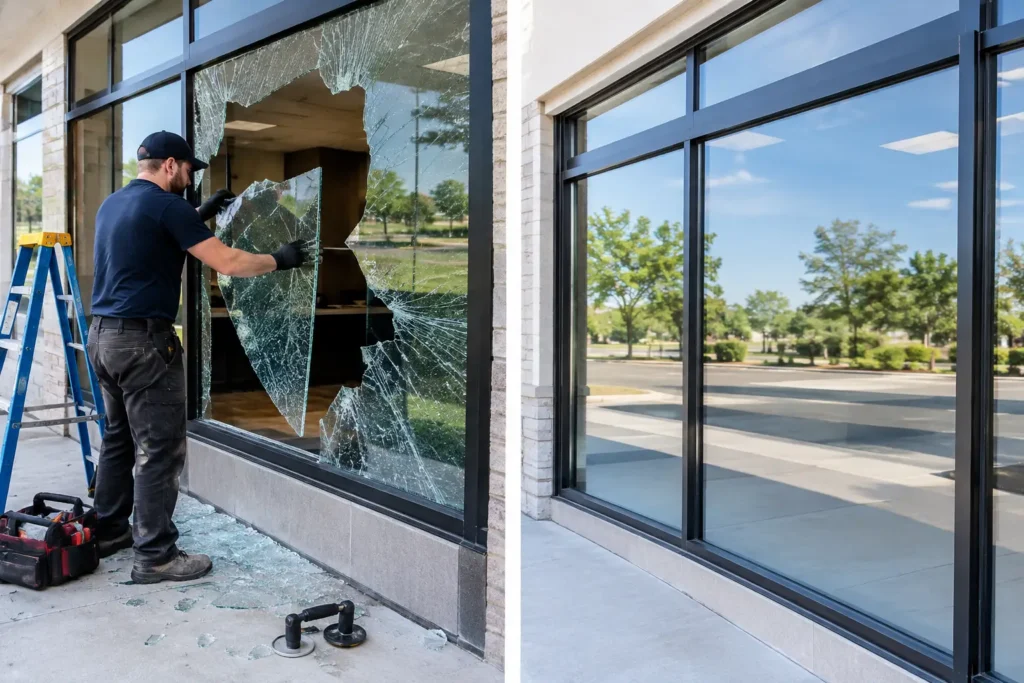
If glass is broken, do not wait for the full replacement process before protecting the property. A glazing professional can assess the opening, remove dangerous loose glass, and install a temporary board-up or other safe protection when needed. That immediate step is especially important after a break-in, storm damage, or damage near a busy entry, walkway, or occupied room.
A fogged window is different. Moisture trapped between panes usually signals a failed insulated-glass seal, but the window may still be physically secure. Depending on the frame condition, replacing only the insulated glass unit can be faster and more cost-effective than replacing the complete window.
Step 1: Inspection and a Clear Scope of Work
The timeline begins with an on-site assessment. A technician looks beyond the visible crack or condensation to determine what actually failed. Is the glass broken while the frame remains sound? Is the seal failed? Is the sash warped, the hardware damaged, or the surrounding opening allowing water intrusion?
That distinction matters because “window replacement” can mean several different jobs. Replacing a single pane or insulated glass unit often has a shorter path than removing an entire window frame. Full-frame replacement may be the better call when there is rot, corrosion, chronic leaks, major air loss, or a window that no longer operates correctly.
During this visit, accurate measurements are taken and the replacement material is identified. For a typical residential window, that includes glass thickness, pane configuration, low-emissivity coating if present, safety-glass requirements, grid pattern, tint, and frame color or finish. In commercial settings, the scope may also include tempered or laminated safety glass, door hardware, storefront framing, or access requirements.
A detailed estimate should explain whether it covers glass-only replacement, a sash replacement, or a complete window unit. It should also make clear what could affect timing, such as custom glass, unusual framing, permits, or concealed damage found after removal.
Step 2: Same-Day Protection When the Window Is Unsafe
A broken window is a safety and security issue first. Exposed shards can injure people and pets. An open or weak opening can invite water, wind, pests, and unauthorized entry. For a storefront or ground-floor office, it can also interrupt business and leave inventory exposed.
When replacement glass is not immediately available, temporary protection keeps the building secure while the final material is ordered. This is not the finished repair, but it prevents a manageable glass problem from becoming a larger property problem. For urgent damage in the DMV, 24/7 emergency response can make a meaningful difference, particularly after hours or during severe weather.
Do not try to tape a severely cracked pane or handle loose fragments yourself. Keep people clear of the area, close off the room if possible, and avoid pressing on damaged glass. A professional can secure the opening and determine the fastest safe next step.
Step 3: Ordering or Fabricating the Replacement
Once measurements and materials are confirmed, the order is placed. This stage is often the longest part of a window replacement timeline because replacement glass and window units must be made to precise specifications.
Common insulated glass units may arrive relatively quickly, while custom shapes, oversized panes, specialty coatings, decorative grids, uncommon tints, and certain commercial systems can take longer. Full replacement windows also have their own manufacturing schedules. Availability can shift with season, product demand, and the specifications selected.
This is where a good contractor earns trust through communication. You should know what has been ordered, what timing is expected, and when the installation can realistically be scheduled. Promising an exact date before a custom product is confirmed can create frustration. Clear updates are more useful than false certainty.
There are trade-offs. Choosing a readily available configuration may reduce lead time, but it may not match every existing window exactly. Waiting for the proper custom unit can preserve appearance and performance, particularly when one window sits beside others in a prominent room or on a commercial façade.
Step 4: Preparing for Installation Day
Before installers arrive, move furniture, blinds, curtains, and fragile items away from the work area. Provide a clear path to the window and plan for pets, children, or tenants who may need to stay clear while glass is handled. For multifamily and commercial properties, coordinate access, elevator use, parking, loading areas, and any building management requirements ahead of time.
Most glass-only replacements cause limited disruption. Complete window replacements can create more noise, dust, and activity because the old unit must be removed, the opening inspected, and the new window set, sealed, and finished. Exterior work may also depend on safe weather conditions.
Rain, high winds, extreme temperatures, or access challenges can move an appointment. That is not a sign of poor service when the decision protects the installation quality. Windows need to be properly flashed, sealed, and secured. Rushing those details to meet a date can lead to leaks, drafts, and costly return work.
Step 5: Installation and Quality Checks
On installation day, the old glass or window unit is removed carefully. The opening is cleaned and inspected before the replacement is installed. For insulated glass, proper setting blocks, glazing materials, and seals help keep the unit stable and weather-resistant. For full windows, correct shimming, fastening, insulation, flashing, and perimeter sealing are essential.
A single glass replacement may take an hour or two once the material is on site. Several windows or full-frame replacements can take a half day, a full day, or longer depending on size, quantity, access, and the condition of the openings. A technician should never rush a large pane, a high-level installation, or a complex frame repair simply to shorten the visit.
Before the crew leaves, check the basics together. The window should be clean, secure, and aligned. Operable windows should open, close, lock, and latch correctly. The crew should remove broken glass and job-related debris, leaving the area safe and orderly.
What Can Delay Window Replacement?
Some delays are avoidable, and others are part of doing the job correctly. The biggest variables are product availability, custom fabrication, weather, building access, permit requirements, and hidden damage around the opening.
Older homes can present surprises once a failed window is removed. Damaged wood, moisture behind trim, corroded metal, or an out-of-square opening may need attention before a new unit can be installed properly. That can add time, but ignoring it risks repeating the same leak or failure.
Scheduling also varies by urgency. A boarded-up break requires fast action, while an energy-efficiency upgrade can be scheduled around your availability. If your property has several failing windows, grouping the work may reduce disruption and create a more efficient installation plan.
How to Keep Your Project Moving
Fast projects start with complete information. Share photos of the damage before the appointment if requested, and mention whether the glass is broken, the window is fogged, the frame is damaged, or water is entering the home or business. Tell the estimator about access issues, upper-floor locations, security concerns, and any association or property-management approvals.
When reviewing an estimate, confirm the scope and material details rather than comparing price alone. A lower quote that does not include proper safety glass, matching insulated glass, removal of damaged materials, or complete sealing may create more expense later. Licensed and insured glazing work, clear scheduling updates, and warranty coverage protect the investment after installation.
Quick Glass Repairs approaches window work with the urgency it deserves: secure unsafe glass quickly, measure precisely, explain the real timeline, and complete the finished installation with care. Whether the issue is a broken pane, failed seal, or an aging window unit, acting early gives you more options and prevents a small opening from becoming a bigger problem.