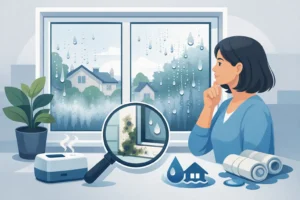


You notice it every winter: that chill creeping in around your living room window, or that foggy haze trapped between the panes that no amount of cleaning will fix. Failing window seals are one of the most common and most overlooked sources of energy waste in Maryland and Virginia homes. Window seals include perimeter caulking, internal insulated glass unit (IGU) seals, and weatherstripping, and when any of them fail, you get drafts, fogging, and higher utility bills. This guide walks you through how to spot the problem, tackle a DIY fix, know when to call a pro, and what to expect in costs.
Table of Contents
- How to spot window seal problems
- Tools and materials checklist
- Step-by-step window seal replacement
- When to call a professional
- Expert perspective: Picking your best window seal solution
- Get professional window seal repair and more
- Frequently asked questions
Key Takeaways
| Point | Details |
|---|---|
| Identify seal issues | Drafts, fogged glass, and higher energy bills signal window seal failure. |
| DIY for simple fixes | Many perimeter seal repairs are safe and affordable to handle yourself. |
| Call a pro for complex jobs | Insulated glass or major repairs require specialized skills and tools for safety and lasting results. |
| Choose the right materials | Silicone sealant offers better durability than latex for most windows. |
How to spot window seal problems
The earlier you catch a failing seal, the less damage it causes. A small gap in your caulking today can mean water intrusion, wood rot, and mold in your walls by next year. Knowing what to look for is the first step.
There are three main types of window seals, and each fails in a different way:
- Perimeter caulking seals the gap between the window frame and the wall. When it cracks or shrinks, outside air and moisture get in.
- IGU seals hold the inert gas (like argon) between double or triple pane glass. When these fail, you get that stubborn fog or haze between the panes that never clears.
- Weatherstripping lines the sash (the moving part of the window). Worn weatherstripping lets cold air whistle through even when the window is shut.
The most common warning signs to watch for include:
- Visible condensation or fog trapped between the glass panes
- Cold drafts near closed windows, especially in winter
- A noticeable spike in your heating or cooling bills
- Cracked, peeling, or missing caulk around the window frame
- Water stains or soft spots on the sill or surrounding drywall
If you notice window leak repairs becoming a recurring issue in your home, that pattern is a strong signal that multiple seals may be failing at once.
Important: Fogging between panes is not a surface issue. It means the IGU seal has already failed and the insulating gas has escaped. Cleaning the glass will not fix it.
Pro Tip: Walk through your home during the first cold snap of fall and hold your hand near each window frame. Any chill you feel is a draft worth investigating. Seasonal checks like this catch problems before they become expensive.
Fast action matters. A failed perimeter caulk seal left untreated through a wet Maryland or Virginia winter can allow moisture to seep into the wall cavity, leading to repairs that cost far more than a $10 tube of sealant.
Tools and materials checklist
Once you have confirmed that your window seals are failing, gather everything before you start. Stopping mid-repair to run to the hardware store is how mistakes happen.
Essential tools for DIY window seal replacement:
- Utility knife or oscillating tool (for removing old caulk)
- Caulking gun
- Painter’s tape (for clean, straight lines)
- Putty knife or plastic scraper
- Clean rags and isopropyl alcohol (for surface prep)
- Safety glasses and nitrile gloves
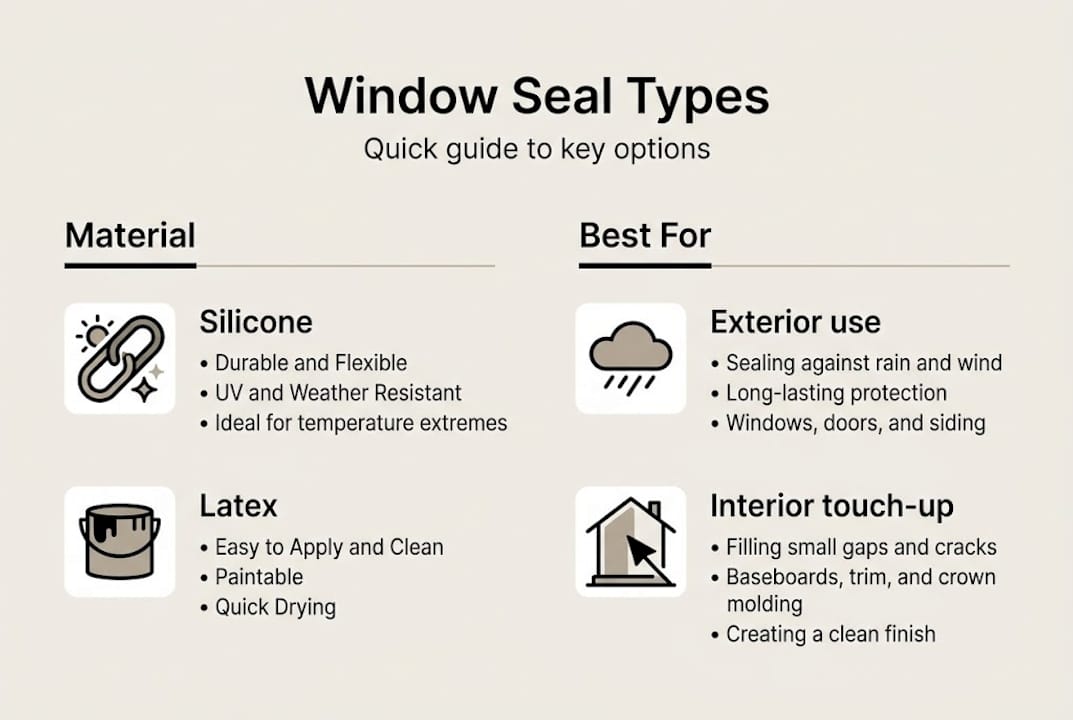
Choosing the right sealant matters more than most people realize. Not all caulks are equal, and using the wrong one is one of the most common DIY mistakes we see.
| Feature | Silicone sealant | Latex sealant |
|---|---|---|
| Lifespan | 10 to 20 years | 5 to 10 years |
| Paintable | No (clear or colored) | Yes |
| Flexibility | Excellent | Moderate |
| Mold resistance | High | Moderate |
| Cost per tube | $8 to $15 | $4 to $8 |
| Best use | Exterior frames, wet areas | Interior trim, painted surfaces |
For most exterior window caulking in Maryland and Virginia, silicone is the better investment. The temperature swings here, from freezing winters to humid summers, are hard on sealants. Silicone stays flexible and does not crack the way latex can when temperatures drop fast.
For a quick overview of window repair basics, understanding which seal type you are working with will save you from buying the wrong product.
Pro Tip: Buy a tube of silicone sealant rated for exterior use and check that it is labeled “paintable” if you need to match your trim color. Many silicone products are not paintable, so read the label before you buy.
Estimated material costs for a standard DIY repair:
- Silicone sealant: $8 to $15 per tube (one tube covers most standard windows)
- Caulking gun: $10 to $25 (a decent one makes a big difference)
- Painter’s tape: $4 to $8
- Safety glasses and gloves: $5 to $10
Total for a basic DIY repair: roughly $30 to $60 per window, depending on what you already own.
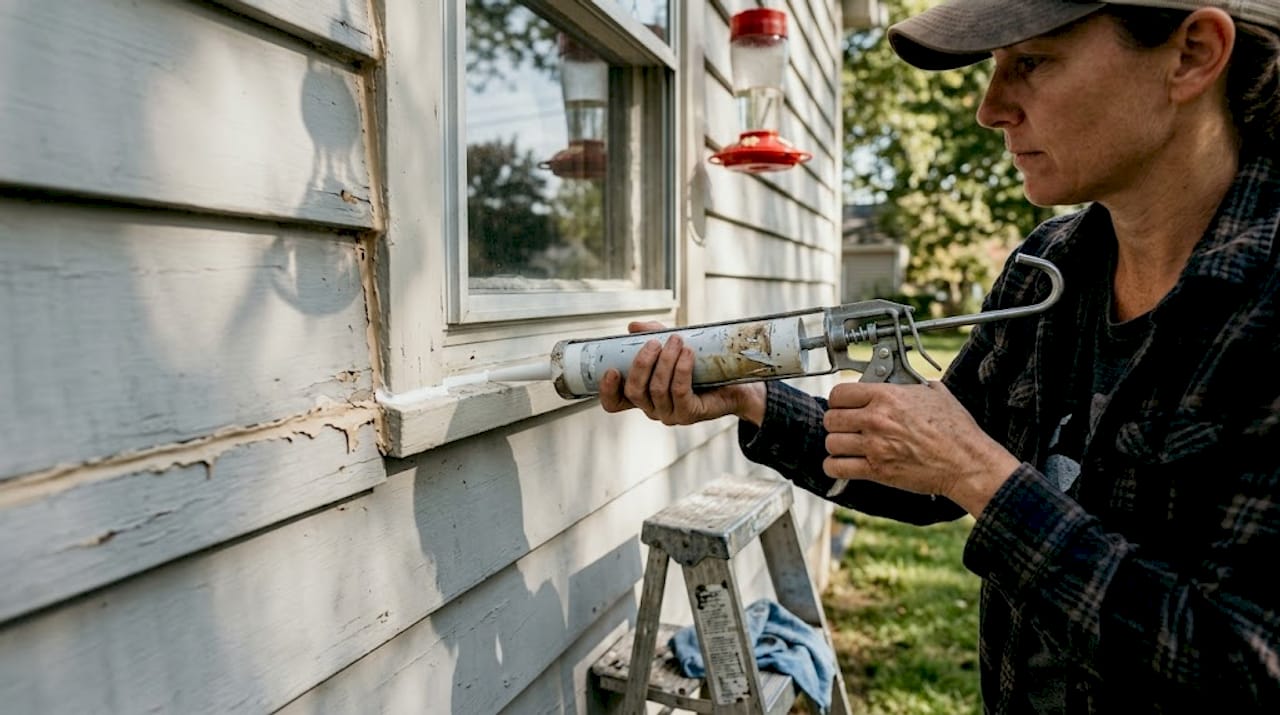
Step-by-step window seal replacement
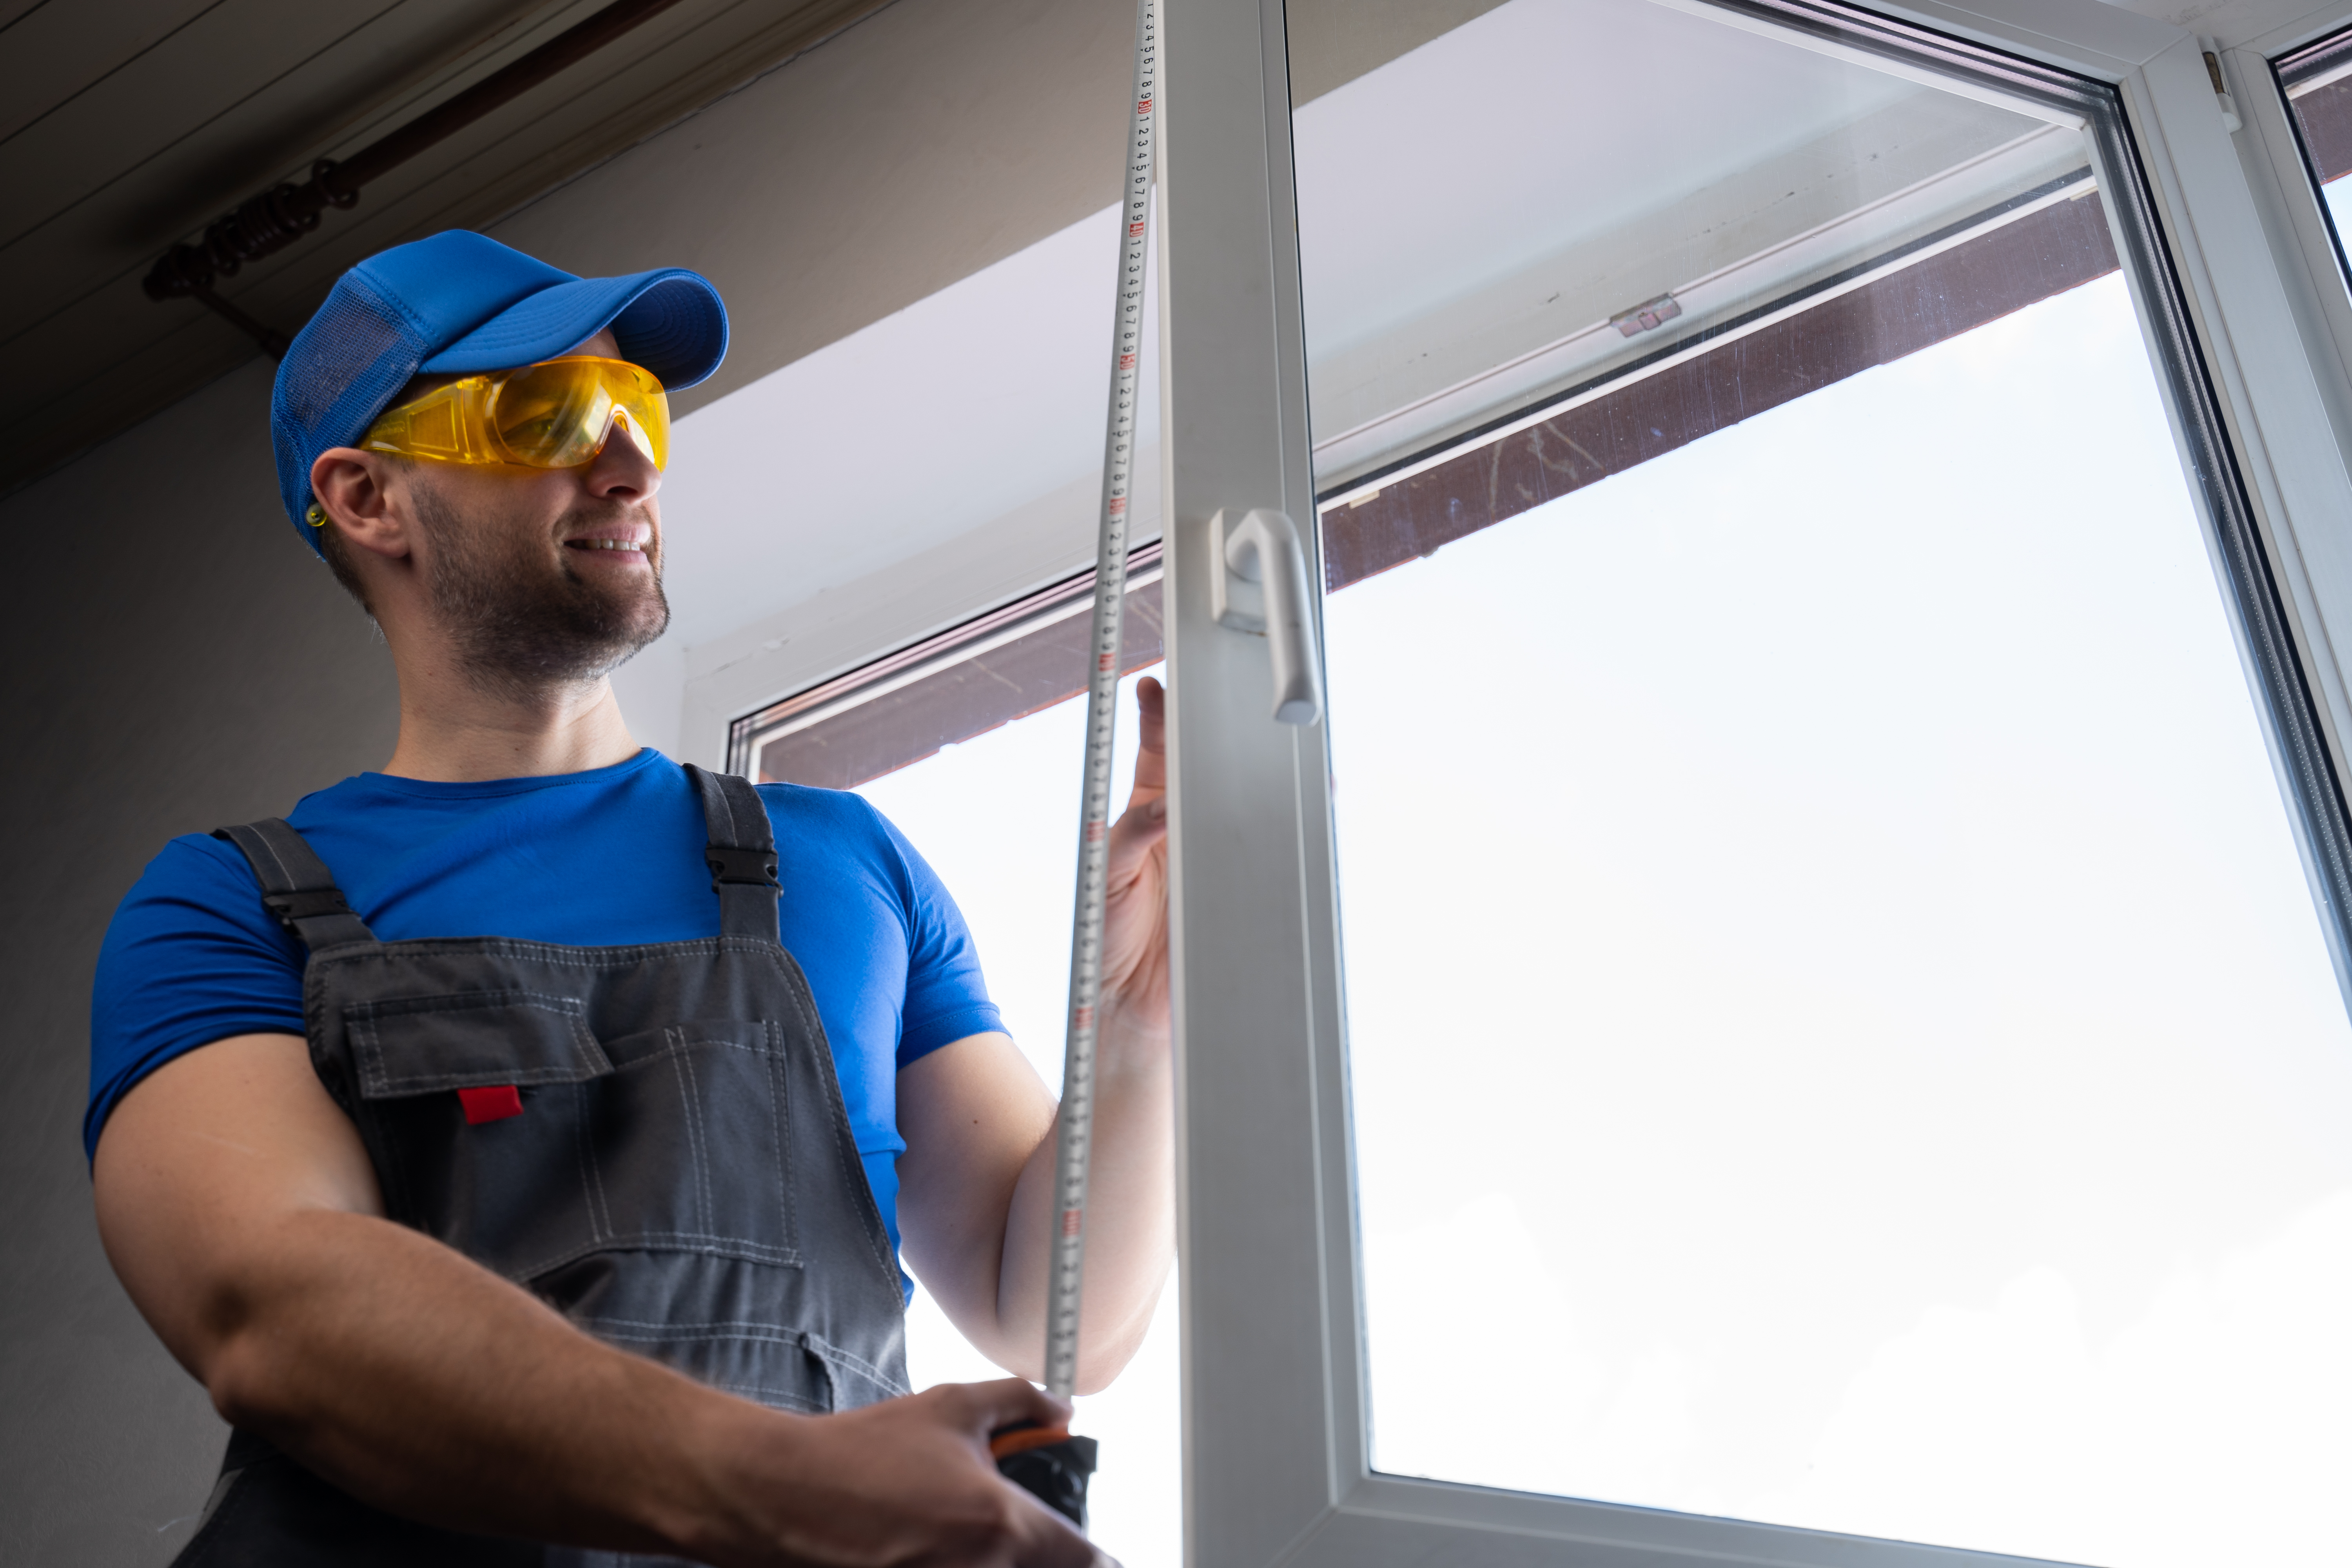
With your tools ready, here is how to replace the perimeter caulking on a standard window. This process works for most single or double hung windows in residential homes.
- Remove the old caulk. Score along both edges of the existing caulk with your utility knife. Use a putty knife or plastic scraper to peel it away. Take your time here. Leftover caulk will prevent the new sealant from bonding properly.
- Clean the surface. Wipe down the entire area with isopropyl alcohol and a clean rag. Remove all dust, grease, and old caulk residue. The surface must be completely dry before you apply anything new.
- Apply painter’s tape. Run tape along both sides of the gap to keep your lines clean and protect the window frame and siding.
- Load and apply the sealant. Cut the caulk tube tip at a 45-degree angle and load it into the gun. Apply steady, even pressure as you run a continuous bead along the entire seam without stopping.
- Smooth the bead. Wet your finger slightly and run it along the caulk to press it into the gap and create a smooth finish. Remove the painter’s tape immediately while the caulk is still wet.
- Let it cure. DIY caulking steps require a full 24-hour cure before the window is exposed to rain or temperature extremes.
| Step | Task | Estimated time |
|---|---|---|
| 1 | Remove old caulk | 15 to 30 minutes |
| 2 | Clean and prep surface | 10 to 15 minutes |
| 3 | Apply tape | 5 minutes |
| 4 | Apply new sealant | 10 to 20 minutes |
| 5 | Smooth and remove tape | 5 minutes |
| 6 | Cure time | 24 hours |
Safety first: Always wear gloves and eye protection when working with sealants. Some silicone products release acetic acid (that vinegar smell) as they cure. Work in a ventilated area.
If your windows show fogging between the panes rather than failed perimeter caulk, the process is different. Repairing foggy glass involves either replacing the IGU unit itself or the full window sash, which is typically a job for a professional.
When to call a professional
DIY caulking is satisfying and cost-effective when the problem is limited to perimeter seals. But there are situations where hiring a pro is not just easier, it actually saves you money in the long run.
Call a professional when you have:
- Fogging or condensation trapped between the panes (IGU failure)
- Visible water damage, rot, or mold around the frame
- Windows in a historic or older home with custom sizing
- Multiple windows failing at the same time
- A window that no longer opens, closes, or locks properly
Here is a realistic look at what repairs cost:
| Repair type | DIY cost | Professional cost |
|---|---|---|
| Perimeter caulking | $10 to $50/window | $70 to $150/window |
| IGU seal repair | Not recommended | $100 to $250/window |
| Weatherstripping | $50 to $150/window | $80 to $200/window |
| Full window replacement | N/A | $300 to $1,200+/window |
For window glass repair services, a professional can often restore a failed IGU for less than the cost of a full replacement, especially on newer windows still under manufacturer warranty.
One thing many homeowners overlook: check your homeowner’s insurance policy and any remaining window warranty before paying out of pocket. Some policies cover window damage from storms or sudden events, and many window manufacturers offer 10 to 20 year warranties on IGU seals. A quick call before you schedule repairs could save you hundreds.
The contrasting views on DIY vs. pro are worth understanding. Simple caulking is a clear win for DIY. But for IGU failures, attempting a repair without the right tools risks damaging the glass or voiding your warranty entirely.
Expert perspective: Picking your best window seal solution
Here is something we have learned after years of working with homeowners across Maryland and Virginia: the biggest mistake is not choosing DIY over professional help. It is underestimating the problem in the first place.
We regularly see homeowners who spent $15 on caulk to fix what turned out to be a failed IGU. The caulk looked fine for a season, but the fogging came back and the energy bills never improved. That is a false economy. Spending a little to fix the wrong thing is still money wasted.
Maryland and Virginia have some of the most demanding climates for window seals on the East Coast. You get freezing winters, humid summers, and wide temperature swings in spring and fall. That cycle expands and contracts your window frames repeatedly, which is exactly why silicone outperforms latex here and why seals that last 15 years in a mild climate may only last 8 to 10 years locally.
Our honest advice: if your windows are more than 15 to 20 years old and multiple seals are failing, the math often favors replacement over repeated repairs. Modern double or triple pane windows with quality IGU seals pay back their cost in energy savings faster than most homeowners expect. A proper window seal solution starts with an honest assessment of your window’s age and condition, not just the visible symptom in front of you.
Get professional window seal repair and more
Sometimes the best tool for the job is a phone call. If your windows show signs of IGU failure, water damage, or widespread seal issues, our team at Quick Glass Repair is ready to help Maryland and Virginia homeowners get it right the first time.
Our glass repair experts bring the right materials, the right experience, and honest pricing to every job. Whether you need a single window resealed or a full assessment of your home’s glazing, we make the process straightforward and stress-free. We also cover glass repair for doors, so if your sliding door or entry door seal is failing too, we have you covered. Reach out today to schedule a consultation and stop paying for air you are not keeping inside.
Frequently asked questions
How do I know if my window needs a seal replacement?
Fog between panes, cold drafts near closed windows, or a noticeable rise in energy bills are the clearest signs your window seal has failed. Any one of these symptoms is worth investigating right away.
Is DIY window seal repair safe and cost-effective?
DIY caulk repair is safe and affordable for perimeter seals, with materials costing as little as $10 to $50 per window. For IGU failures, silicone vs latex is the least of your concerns since that type of repair needs a professional.
What does a professional window seal replacement cost?
Professional seal repair typically runs $70 to $250 per window depending on the repair type, while full window replacement starts around $300 and can exceed $1,200 per window for premium units.
How long will a new window seal last?
Silicone sealant lasts 10 to 20 years under normal conditions, while latex sealant typically holds up for 5 to 10 years before needing replacement.